Edit ASMR audio by preserving natural quiet and movement: organize the source, make smooth cuts with room tone, correct large level differences, apply only necessary cleanup, protect stereo orientation, and compare the result on several listening devices.
The goal is not maximum processing. It is removing distractions without erasing breath, texture, space, and left-right motion.
How to edit ASMR audio step by step
- Duplicate and organize the sourcePreserve the untouched original, create an edit copy, label microphone channels clearly, and verify left-right orientation before making cuts.
- Listen once without processingMark mistakes, loud handling events, electrical noise, room changes, and sections that already sound natural. Do not begin with a preset chain.
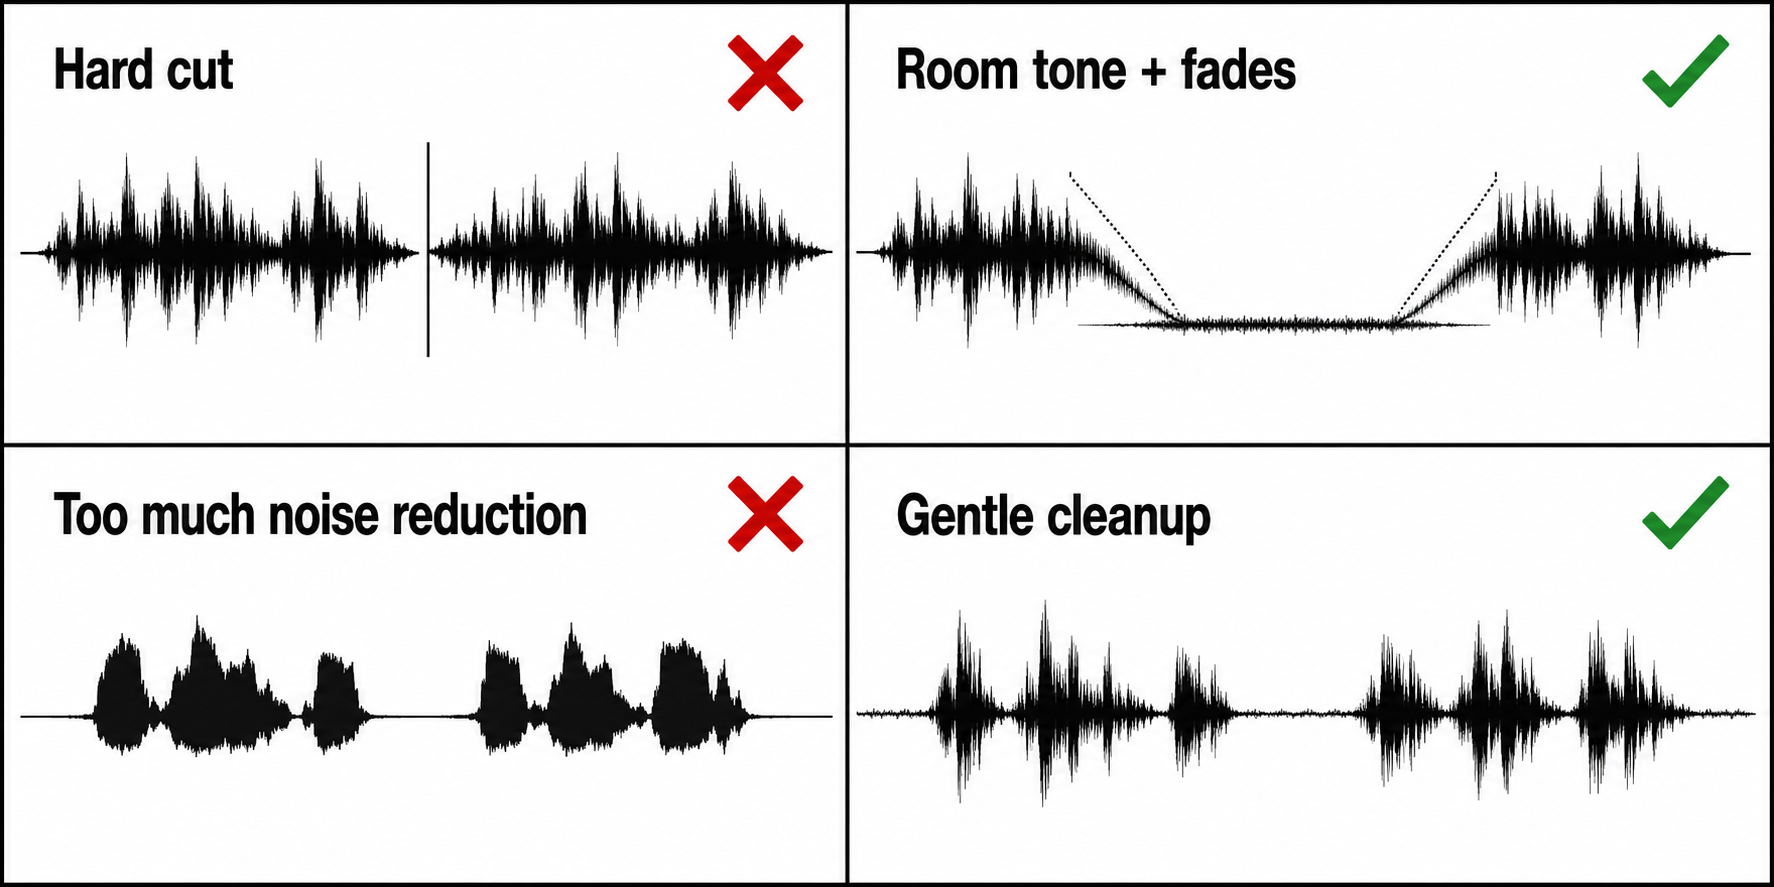
- Build clean cuts with room toneRemove mistakes, use short fades at edit boundaries, and fill gaps with matching room tone instead of digital silence when the silence feels unnatural.
- Correct large level problems firstUse clip gain or region gain to reduce isolated loud events and bring very quiet usable sections closer before compression or limiting.
- Apply noise reduction conservativelyUse the smallest amount that improves steady noise without adding watery artifacts, dulling whispers, or destroying brush and crinkle texture.
- Use equalization only for a named problemReduce a specific rumble, harsh resonance, or excessive low-frequency proximity rather than applying a dramatic generic voice curve.
- Use compression and limiting lightlyControl occasional peaks without flattening the natural contrast that makes ASMR movement and intimacy convincing.
- Check mono, stereo, and multiple listening devicesConfirm that left and right remain correct, phase does not create disappearing sounds, and the result works on wired earphones, normal headphones, and a phone speaker.
- Export a master and delivery copyKeep a high-quality master, export the delivery format required by the video workflow, and save the edit project with linked media and notes.
A practical processing order
Do not try to fix these only in post
- Traffic, voices, and HVAC that dominate the take
- A microphone placed in the breath stream
- Desk thumps transferred through the stand
- A cable rubbing clothing throughout the performance
- Clipped taps or crinkles
- Incorrect left-right routing that was never tested
- A room with uncontrolled flutter echo around a very sensitive microphone
Editing software and monitoring hardware
Use the software comparison for official download links. The physical products below support editing and off-camera checks; they are not the default visible recording monitor.
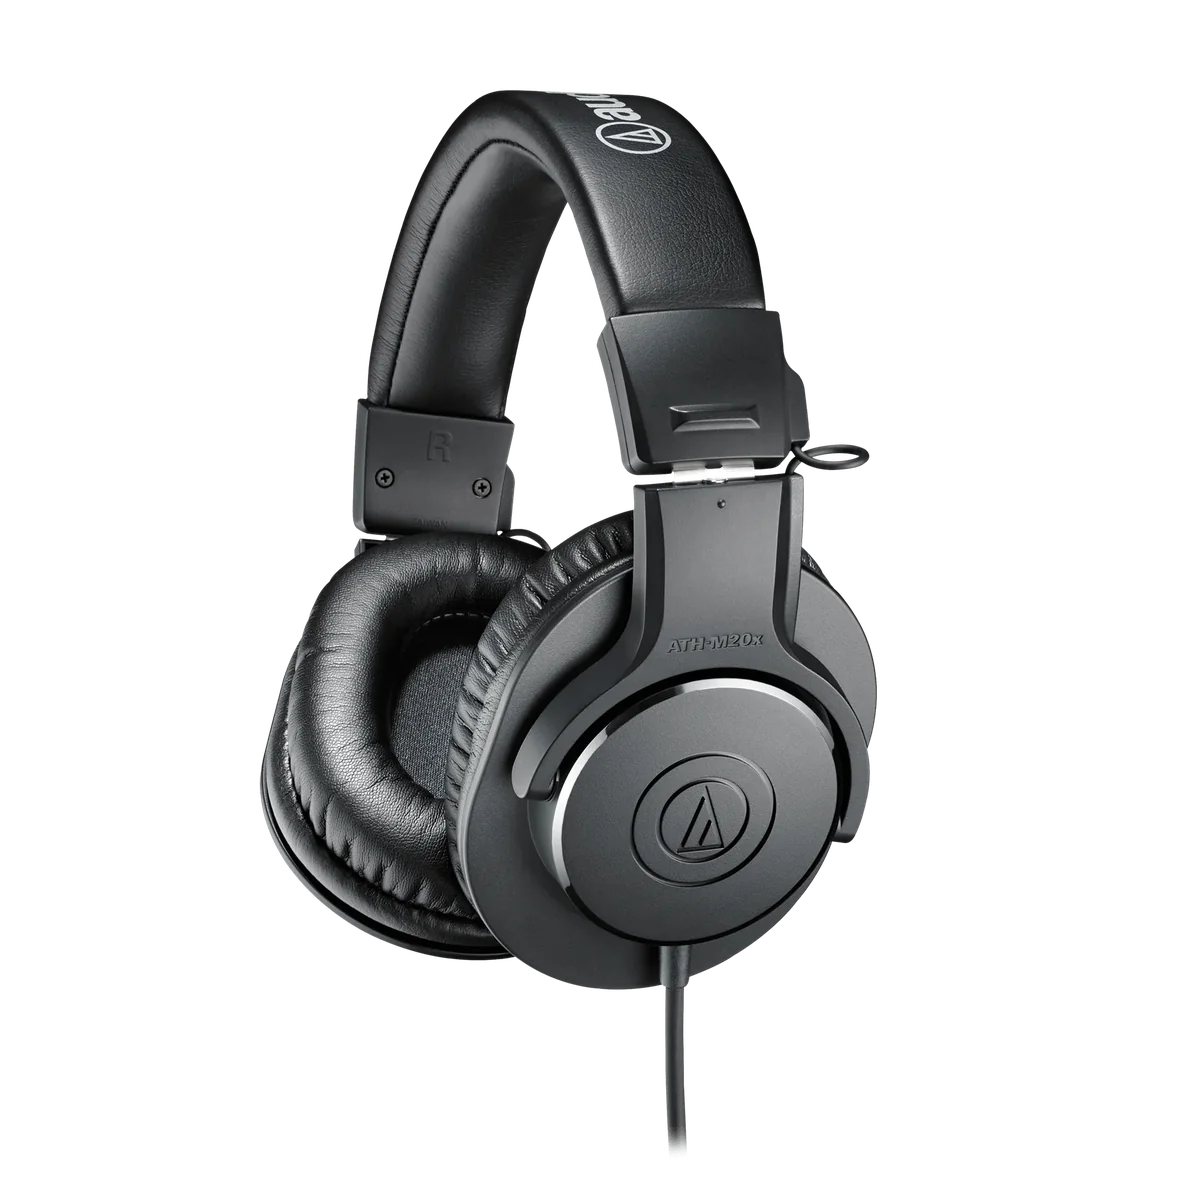
Audio-Technica ATH-M20x
Best for: Editing, noise checks, and off-camera monitoring
Affordable closed-back headphones for reviewing takes and editing. They isolate better than EarPods, but their size makes them a poor default while filming ASMR; use discreet wired in-ear earphones on camera instead.
Open Amazon to confirm the current price, seller, availability, and exact bundle contents. Prefer Amazon.com, the brand storefront, or an authorized dealer.
Compare Audacity, REAPER, DaVinci Resolve, Premiere Pro, CapCut, and other editing tools →
Frequently asked questions
Should ASMR audio be completely silent between sounds?
Usually no. Natural matching room tone keeps edits from feeling abrupt. Digital silence can expose every cut unless silence is an intentional effect.
How much noise reduction should I use?
Use only enough to reduce a steady distraction without changing the texture of whispers and triggers. Capture improvements are preferable to heavy processing.
Should I compress ASMR audio?
Light compression can control uneven peaks, but aggressive compression raises room noise and removes natural movement. Correct clip gain and recording technique first.
What headphones should I use for editing?
Closed-back headphones can help reveal noise and edits. Use discreet wired in-ear earphones during on-camera takes, then check the final mix on several ordinary playback devices.