ASMR microphone placement is a balance of distance, breath angle, gain, left-right orientation, prop movement, and vibration control. Move the source and microphone before trying to fix a poor position with more gain or aggressive editing.
ASMR microphone placement step by step
- Choose the microphone mode before positioningUse cardioid or another forward-focused mode for centered voice, stereo for one-microphone left-right movement, and the correct left and right orientation for binaural systems.
- Place the microphone for sound, not for the cameraSet the capsule where the whisper or prop sounds controlled, then move the camera or crop the frame. Do not force a poor audio position merely to hide the microphone.
- Move breath off the capsule axisAngle the mouth slightly across rather than directly into the capsule and use a pop filter only when plosives remain a problem.
- Set distance before adding gainStart close enough for the intended intimate sound, then reduce gain until room noise and self-noise are controlled without clipping the loudest trigger.
- Test the loudest and closest actionPerform the strongest tap, crinkle, brush, spray, or consonant at the planned distance. Leave margin rather than setting gain from the quietest whisper alone.
- Map left and right movementFor stereo or binaural content, name the viewer-left and viewer-right channels, test orientation, and keep movement paths consistent around the microphone.
- Separate the microphone from vibrationUse the included stand on a soft pad first, then add a compatible arm or shock mount only when desk transfer remains audible.
- Document the repeatable positionRecord microphone height, angle, mode, gain, mouth or prop path, and stand location so future episodes begin from a known setup.
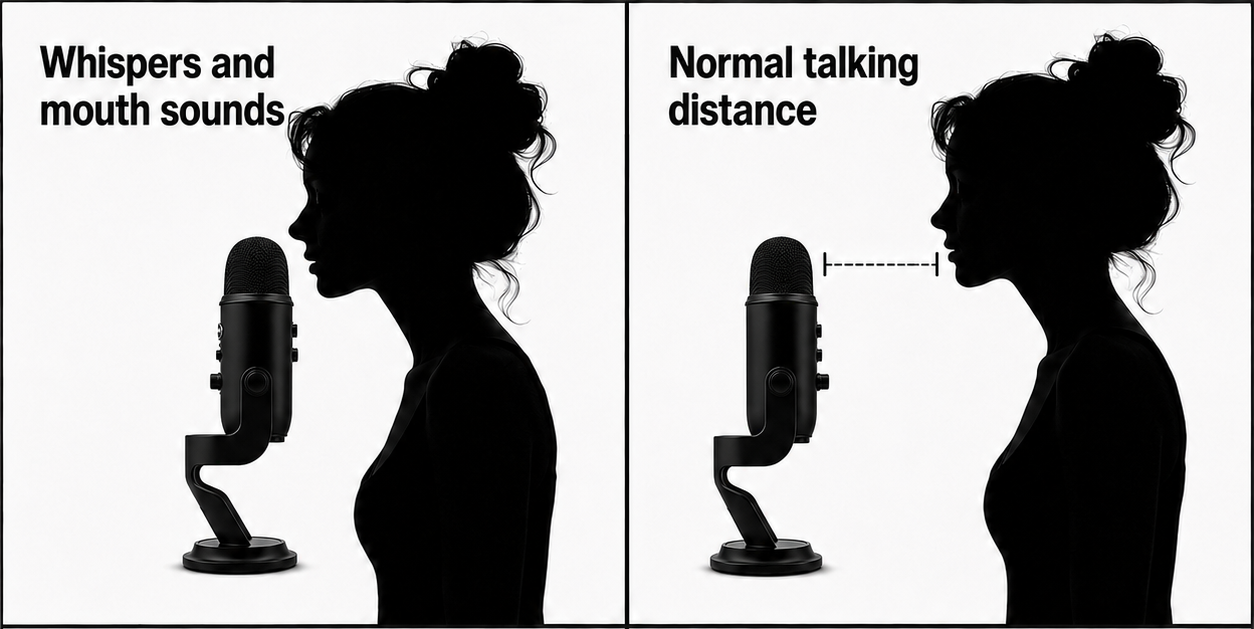
Placement by ASMR format
Forward-focused pattern
Keep the mouth near the active side, angle breath away, and protect a stable distance through the performance.
Map the side-to-side field
Use the included stand on a soft surface first, lower gain, and move props rather than shaking or rotating the microphone.
Keep hands behind the capsules
Do not block the left-right array or transfer tripod and cable movement into the recorder body.
Treat each ear as a listening position
Confirm left-right routing, keep motion smooth around both ears, and leave physical room for hands and props.
Prioritize voice continuity
Plan head turns, prop placement, and camera blocking so dialogue does not jump in level or tone.
Secure the inline microphone
Keep it close enough for the chosen sound but away from clothing, fingers, hair, and cable movement.
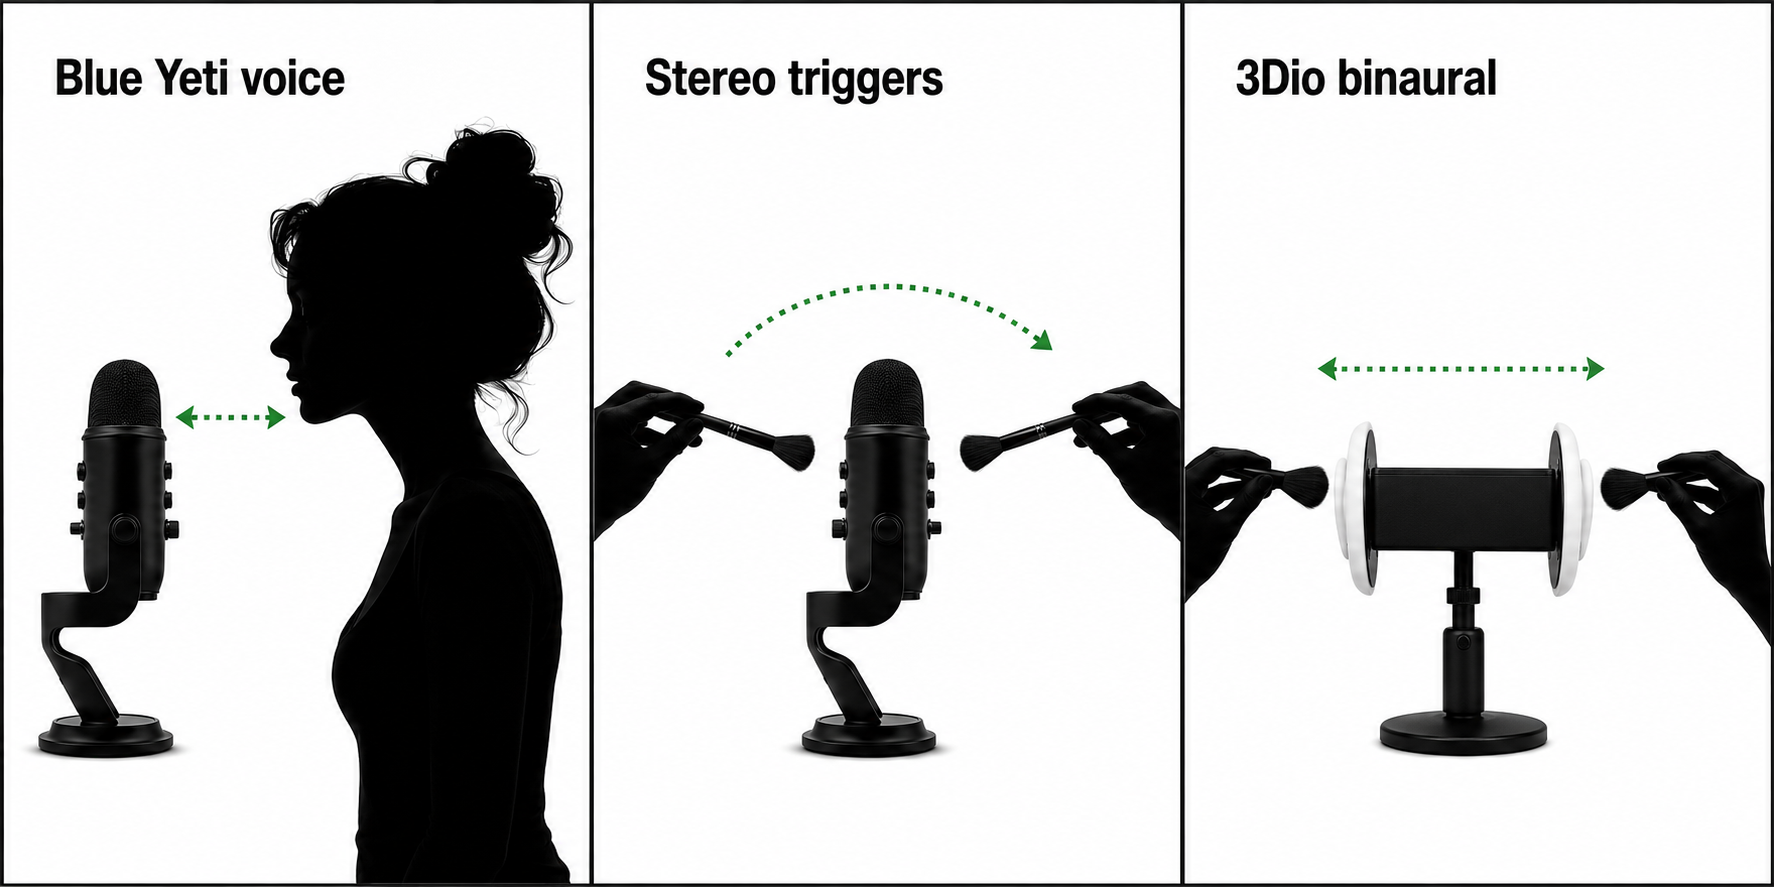
Three-distance prop test
- Far position.Check whether room and desk sound dominate.
- Working position.Choose the point where texture is clear and movement remains safe.
- Closest position.Confirm whether proximity creates overload, wind, exaggerated low frequencies, or handling noise.
Support and microphone options
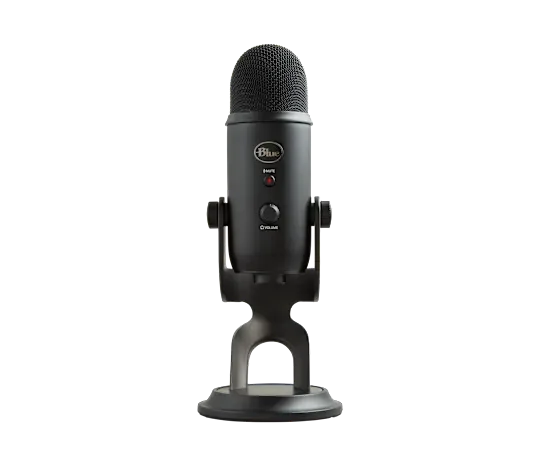
Blue Yeti (Logitech G)
Best for: Stereo tapping and brushing with a simple desk-first workflow
The classic Blue Yeti multipattern USB microphone. Its included desk stand is enough to start: use stereo mode for left-right trigger movement and cardioid mode for centered whispering or roleplay. A boom arm is an optional upgrade, not a required purchase.
- A computer with USB for the most predictable setup.
- The included weighted desk stand is enough to start.
- A boom arm is optional and must support the microphone’s weight.
- Phone use may require a data-capable adapter and adequate power; compatibility is not universal.
Open Amazon to confirm the current price, seller, availability, and exact bundle contents. Prefer Amazon.com, the brand storefront, or an authorized dealer.
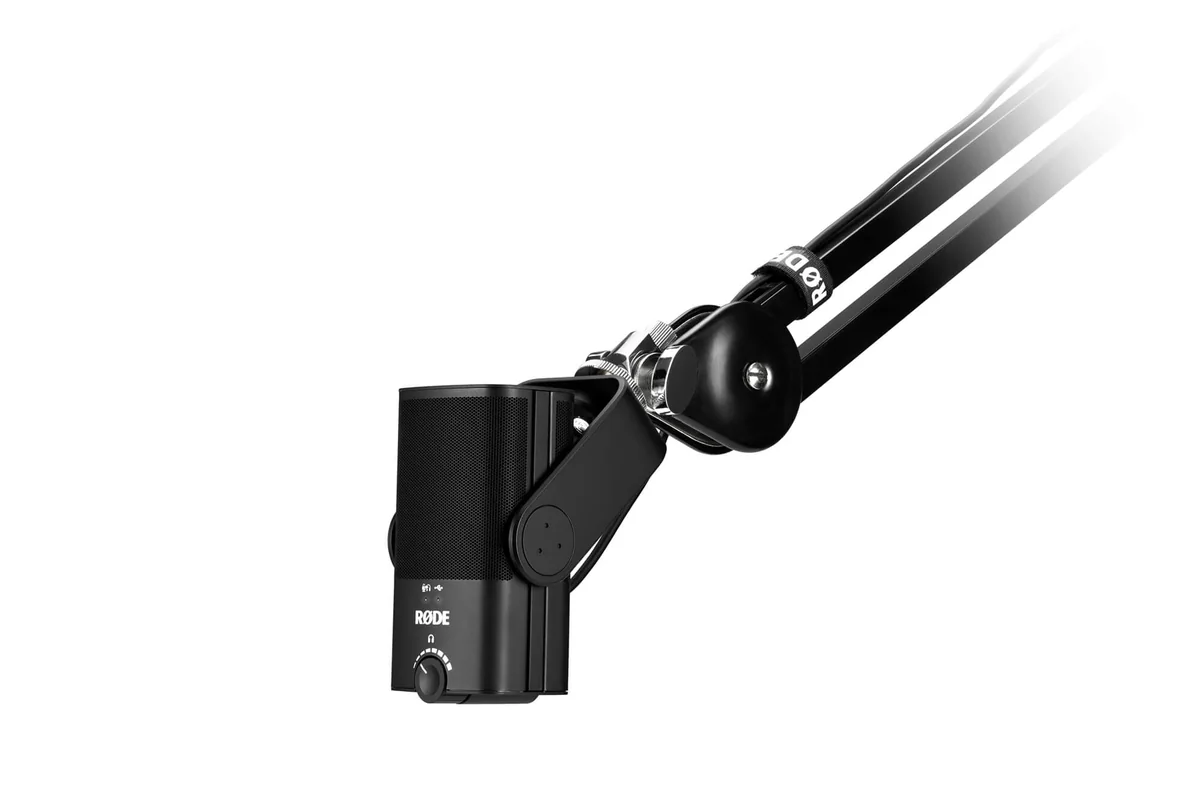
RØDE NT-USB Mini
Best for: Whispering and roleplay on a quiet desk setup
A compact cardioid USB microphone with a built-in pop filter and zero-latency headphone monitoring. It is the cleanest default for a creator who wants a straightforward one-cable desk setup.
- A computer or supported USB host and a compatible USB cable.
- Wired in-ear monitoring can plug into the microphone headphone output.
- The magnetic desk stand is enough to start; a compatible arm is optional.
Open Amazon to confirm the current price, seller, availability, and exact bundle contents. Prefer Amazon.com, the brand storefront, or an authorized dealer.

Shure MV88 USB-C
Best for: Phone-first ASMR on modern USB-C devices
A compact stereo USB-C microphone designed to plug directly into compatible phones and tablets. It adds controllable gain and stereo capture without the adapter, powered-hub, and app uncertainty of adapting a computer-first USB microphone.
- A supported USB-C phone, tablet, or computer and a compatible recording app.
- Enough connector clearance around the phone case.
- A stable phone tripod or clamp when recording video.
Open Amazon to confirm the current price, seller, availability, and exact bundle contents. Prefer Amazon.com, the brand storefront, or an authorized dealer.
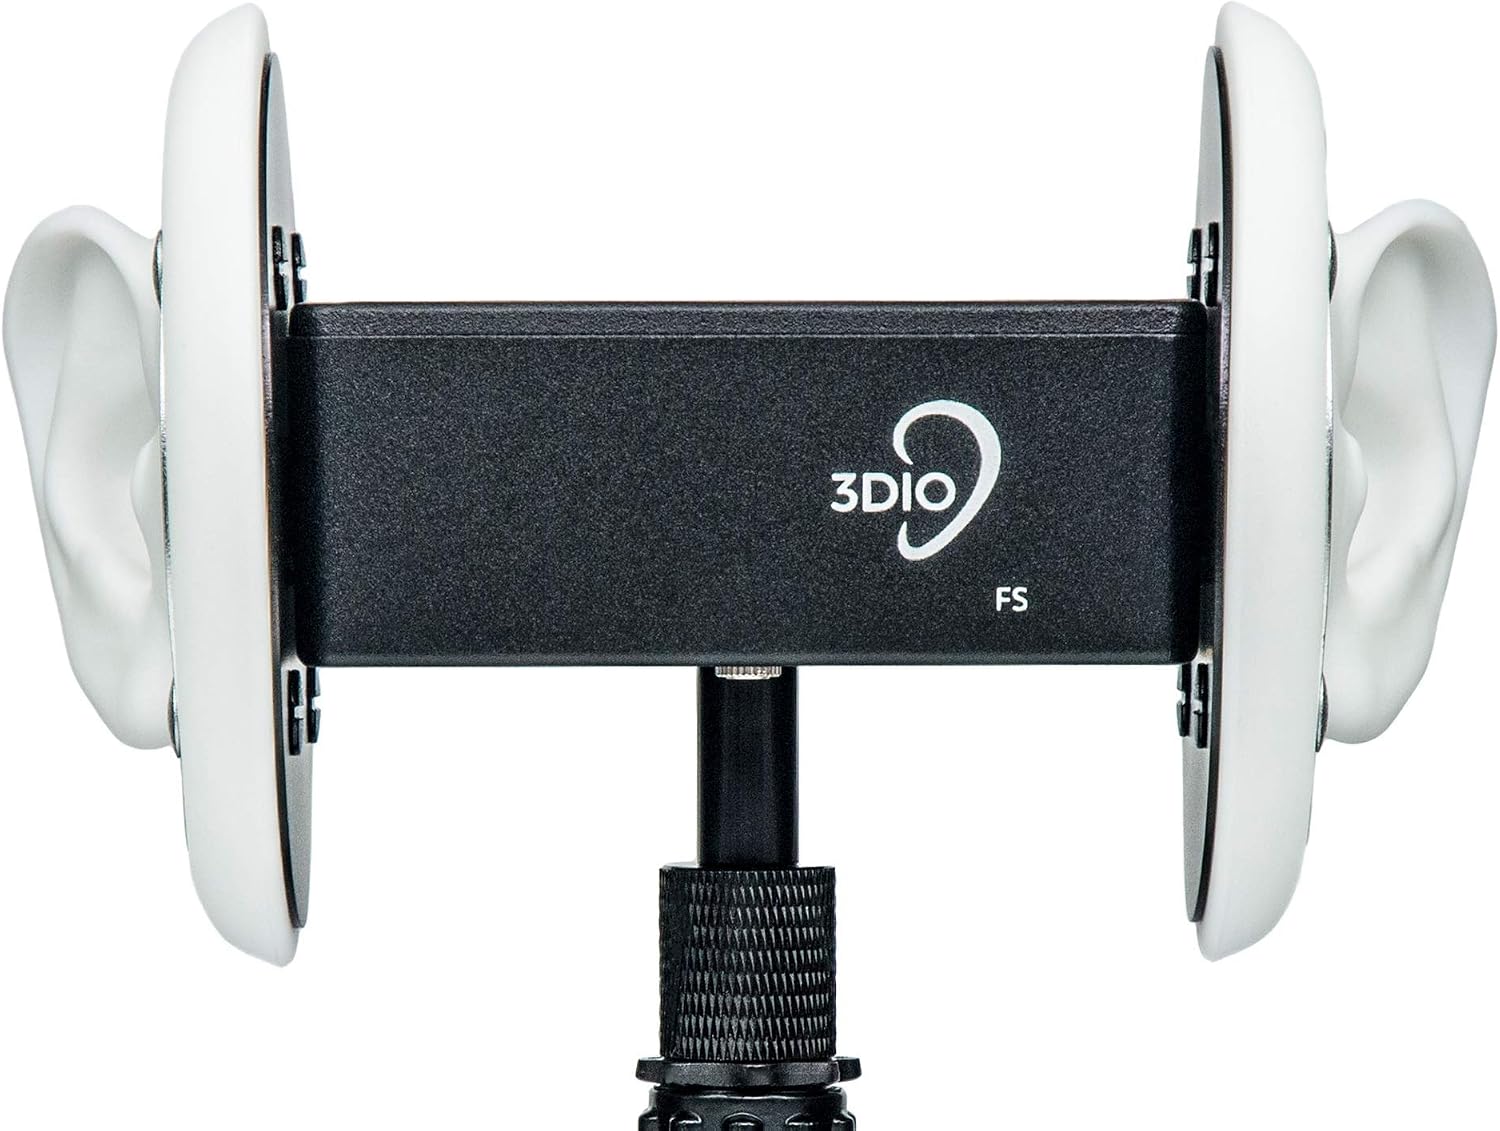
3Dio Free Space (FS)
Best for: The recognizable ear-shaped ASMR microphone with a simpler stereo output
The standard 3Dio Free Space places matched microphone capsules inside silicone ears and sends a stereo signal through a 3.5 mm output. It is the familiar binaural microphone seen in many ear-to-ear ASMR videos.
- A recorder, camera, or interface with a compatible stereo 3.5 mm microphone input.
- A stereo 3.5 mm cable and the required internal battery for the exact model.
- A stable stand or support and wired monitoring from the recorder.
Open Amazon to confirm the current price, seller, availability, and exact bundle contents. Prefer Amazon.com, the brand storefront, or an authorized dealer.
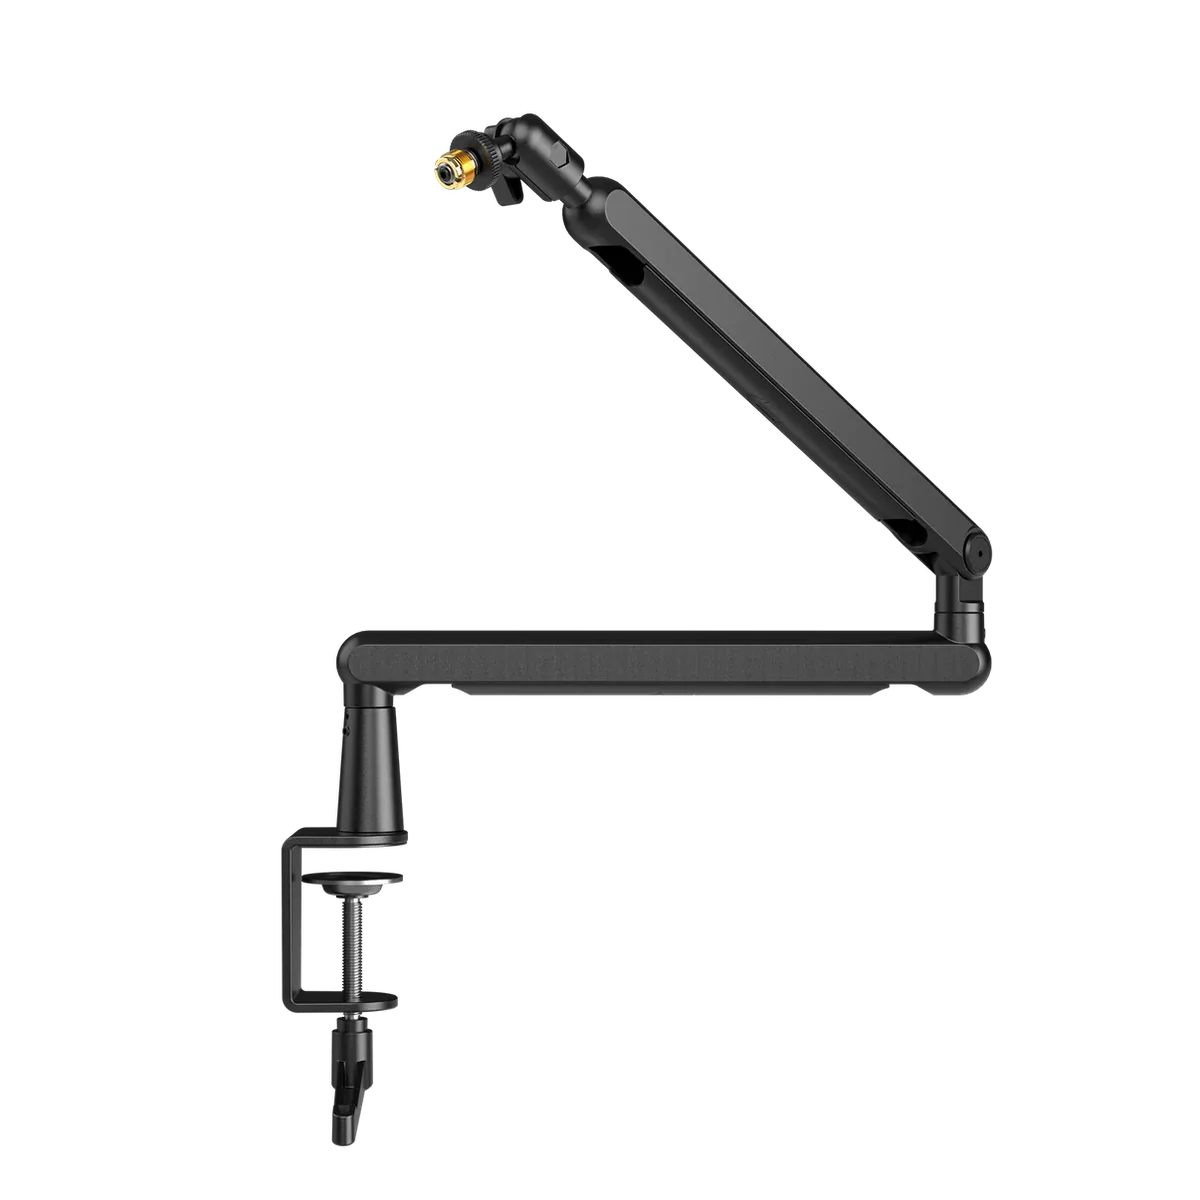
FIFINE BM88
Best for: Moving a desk microphone off the tapping surface
A low-profile clamped arm with built-in cable routing and common microphone thread sizes. Its practical value for ASMR is isolation: the microphone no longer sits on the desk being tapped.
- A desk edge that fits the clamp and can support the load.
- A compatible microphone thread/adapter and verified microphone weight.
Open Amazon to confirm the current price, seller, availability, and exact bundle contents. Prefer Amazon.com, the brand storefront, or an authorized dealer.
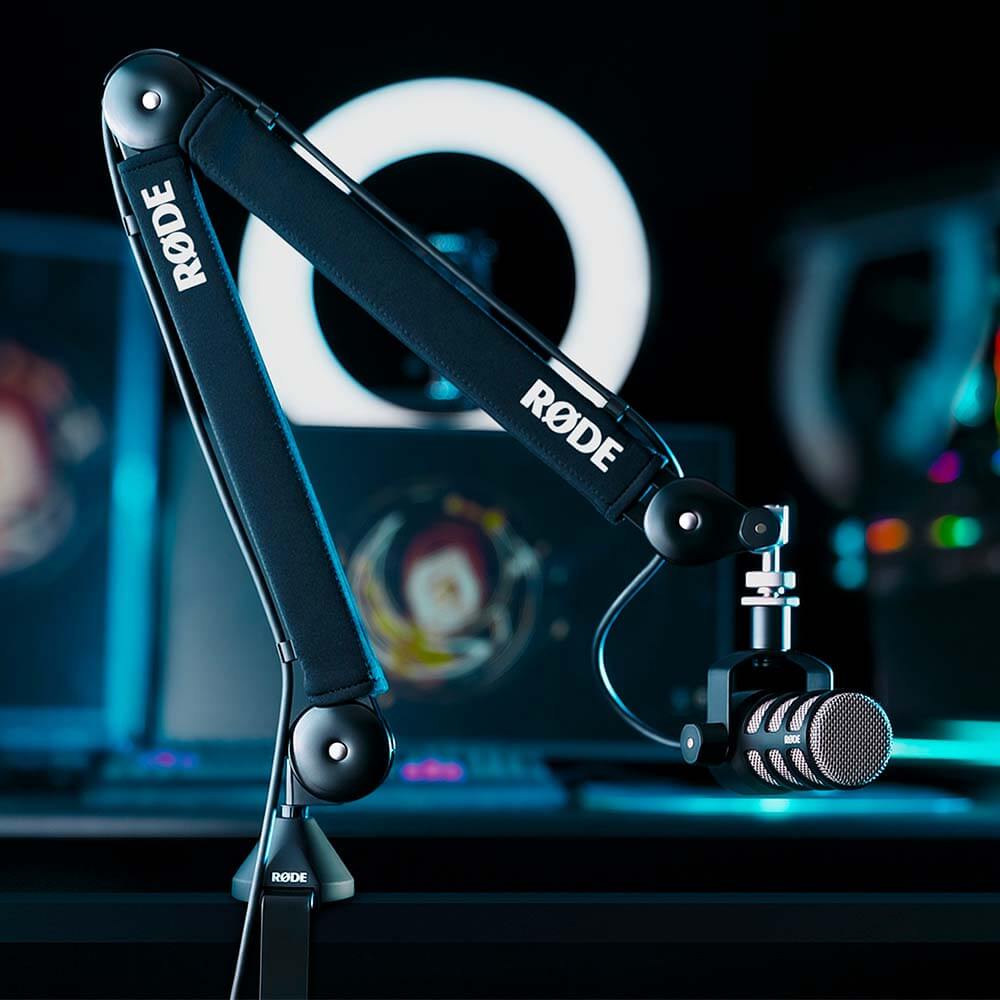
RØDE PSA1+
Best for: Moving a heavy microphone off the desk without noisy repositioning
A premium articulated desk arm designed for a wide range of microphone weights. It is especially useful with heavier USB microphones such as the Blue Yeti and for close trigger work where desk vibration matters.
- A desk surface that can safely accept the clamp or insert mount.
- A compatible microphone thread/adapter and a microphone within the supported weight range.
Open Amazon to confirm the current price, seller, availability, and exact bundle contents. Prefer Amazon.com, the brand storefront, or an authorized dealer.
Frequently asked questions
How close should I be to an ASMR microphone?
Close enough for the intended intimate sound but far enough to avoid breath, plosives, handling noise, and overload. Start with a short test and move the source before raising gain.
Where should I put a Blue Yeti for ASMR?
For voice, point the active side toward the mouth in cardioid mode. For left-right object movement, use stereo mode and confirm the orientation before the take. The included stand is sufficient unless vibration or framing is a problem.
Where should props be placed?
Place props where the sound remains detailed without clipping or dominating desk vibration. Test three distances and keep sharp, wet, or fragile objects away from the capsule and electronics.
Should the microphone be visible?
Visibility is a creative choice. Correct sound placement is more important; adjust camera framing, support, and prop choreography around the working audio position.